
How to Add and Buy Extra Locations
Purchase extra space add-ons and create additional tour locations with verified capacity checks and post-purchase validation.
What this guide covers
This guide explains how to purchase extra location capacity and then create additional tour locations. You will run the full workflow from Billing purchase to location creation validation in Tours.
Before you start
- You can access Settings > Billing and Tours.
- You are on an account with Pro eligibility for add-ons.
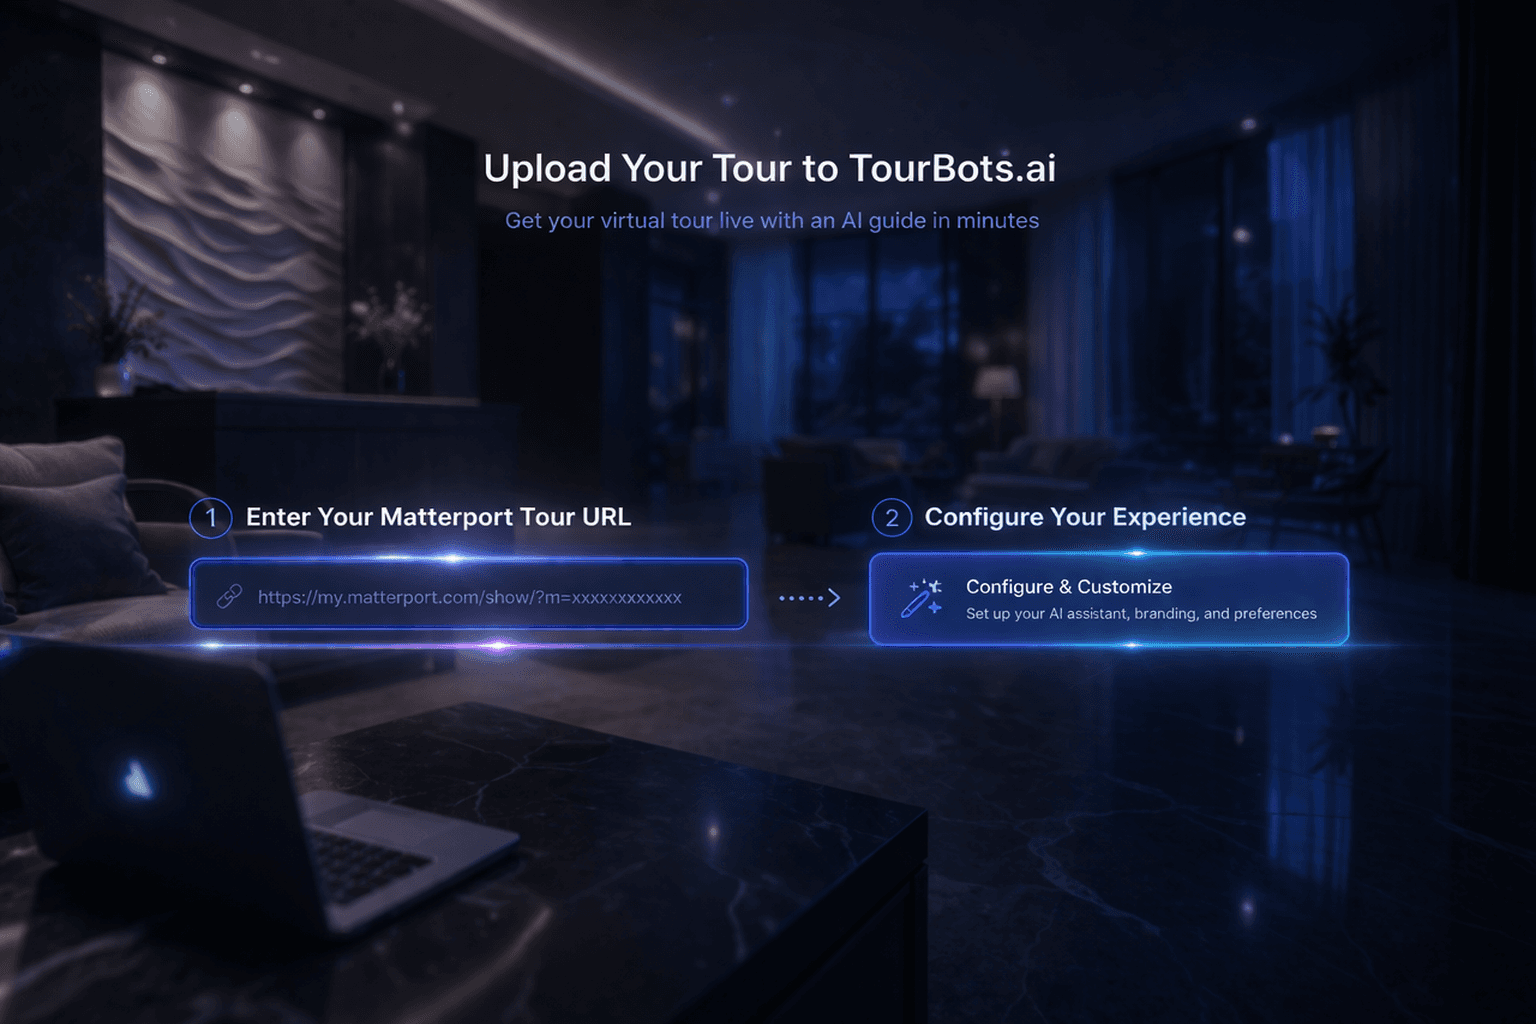
- You have Matterport model details ready for each new location.
1) Check your current location capacity
- Open Settings > Billing.
- Review:
- Base spaces
- Total spaces
- Confirm whether available space is enough for your planned new locations.
If total spaces are already fully used, purchase extra space before attempting to add locations.
2) Buy extra space add-ons
- In Billing > Add-ons, find Additional Space (
extra_space). - Enter the required quantity.
- Click Buy and complete Stripe checkout.
- Return to Settings > Billing.
- Click Refresh and confirm capacity totals increased.
Each extra space increases location capacity and contributes additional message allowance.
3) Create a new tour location
- Go to Tours.
- Open Manage Tour Locations.
- Click Add New Tour Location.
- Enter:
- Matterport URL
- Matterport ID
- Location title
- Optional description
- Save the location.
New location creation is checked against billing space limits before write completion.
4) Validate location and selector behaviour
- Confirm the new location appears in the Tours header selector.
- Select the location and verify the correct model loads.
- Confirm associated tabs (Tour Setup, Tour Menu, Share & Embed, Analytics) work in the new location scope.
This ensures location context is fully active after creation.
5) Handle capacity errors correctly
If you hit a location limit:
- Return to Settings > Billing.
- Purchase additional extra_space quantity.
- Refresh Billing and reconfirm total spaces.
- Retry location creation.
Do not retry repeatedly without verifying billing totals first.
Common issues
- Cannot add a location: check total spaces vs used spaces in Billing and Tours.
- Purchase completed but limit unchanged: refresh Billing after webhook processing.
- Wrong model details saved: verify Matterport URL and model ID before saving.
- Location created but not visible in selector: refresh Tours data and recheck active locations.
- Still blocked after purchase: confirm add-on quantity and current values in Billing.
Validation checklist
- Extra space purchase is visible in Billing.
- Total spaces increased as expected.
- New location saves without limit errors.
- New location appears in selector and loads correctly.
- Tours tabs operate in the new location scope.
Final note
Treat extra location rollout as a two-step operation: entitlement first, location creation second. Verifying capacity before and after purchase prevents failed setup attempts and keeps deployment predictable.