
Desktop and Mobile Chatbot Customisation
Customise your chatbot independently for desktop and mobile, including style, layout, interaction behaviour, presets, and live preview validation.
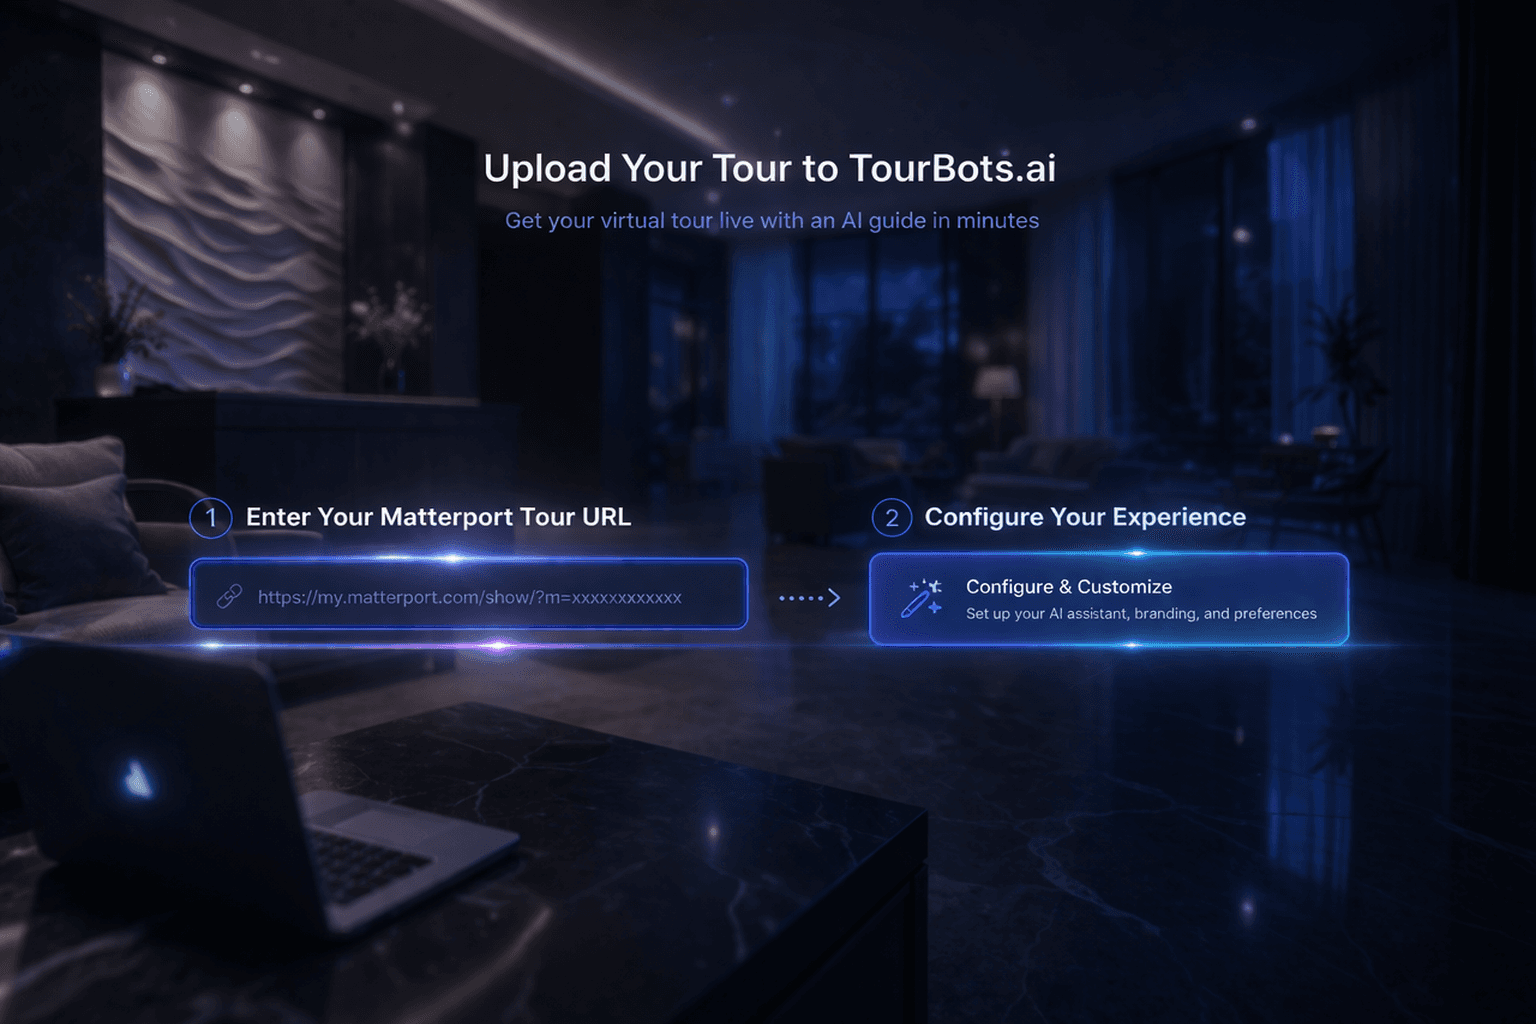
What this guide covers
This guide explains how to customise your tour chatbot for desktop and mobile contexts. You will use presets, edit device-specific settings, validate in live preview, and save a consistent branded experience.
Before you start
- Select the correct tour location in Chatbot.
- Open the Customisation tab.
- Confirm chatbot configuration already exists for the selected location.
1) Open the customisation workspace
- Go to Chatbot > Customisation.
- Confirm the customisation workspace loads.
- Verify Desktop and Mobile mode controls are visible.
The workspace is location-specific, so confirm the selected location first.
2) Use presets and preview safely
- Open Quick Presets.
- Preview a preset to evaluate style direction.
- Apply the preset only if it matches your brand and UX goals.
- Exit preview when comparing with current settings.
Preset previews are temporary until you save changes.
3) Customise desktop and mobile separately
Switch between Desktop and Mobile modes and configure each independently:
- Chat button style and position
- Chat window dimensions and layout
- Colours and branding elements
- Typography and readability
- Message and avatar presentation
- Input/send button controls
- Animation and advanced behaviour settings
Avoid assuming desktop settings will automatically fit mobile contexts.
4) Validate with live preview
- Keep Show Preview enabled.
- Test both desktop and mobile modes.
- Check visual hierarchy, spacing, contrast, and interaction clarity.
- If custom branding is enabled, verify icon/logo rendering.
Preview validation should be done before every save.
5) Save, reset, and governance workflow
- Click Save Changes to publish customisation updates.
- Use Reset only when you need to return to default styling.
- Re-validate both device modes after saving.
Treat customisation as controlled UX configuration, not ad-hoc styling.
Common issues
- Wrong location customised: confirm location selector before editing.
- Looks good on desktop but poor on mobile: test and tune mobile-specific settings directly.
- Preset looks right but should not be permanent: preview first, then apply intentionally.
- Branding assets not visible: confirm branding entitlement and image selection.
- Changes not reflected as expected: ensure save completed, then refresh and re-test.
Validation checklist
- Correct tour location selected before edits.
- Desktop and mobile settings reviewed independently.
- Live preview checked in both modes.
- Preset usage is intentional and documented.
- Changes saved successfully and behaviour remains consistent.
Final note
Design chatbot customisation as a two-surface experience: desktop and mobile are separate operational channels. Optimise each context explicitly, keep branding disciplined, and validate before rollout.